Migrate to Norvato
The No-Wipe
Migration tool
This documentation outlines the transition for migrating local Windows workstations to the Norvato environment. This method preserves user profiles and local data, preventing the need for a full device wipe.
Migration Options from Visma to Norvato
- In-Place Migration (Preferred): This method can save a lot of time and will not wipe your Windows device, but it is not supported by Microsoft.
- Standard Autopilot Wipe: Retrieve the hardware hash using PowerShell, then upload the CSV file into Autopilot. This will also need a device wipe.
playlist_add_check Pre-Migration Checklist
Critical: Mandatory Data Backup
While engineered for stability, this automated script can encounter unexpected errors during tenant detachment. Manual backup of all local data to Google Drive or Corporate Network Drives is absolutely mandatory before continuing. Norvato IT is strictly not responsible for any data loss resulting from unverified backups.
Ethernet Connection (Wired Connection) Required
- Wireless connections will drop during the domain detachment phase.
- Wired connectivity is mandatory to ensure session continuity.
Identity & Licensing
- You need an active Norvato account with MFA set up (set up through this link. Log in with your Norvato account and follow the steps).
- An 'Enterprise Mobility + Security E3' license must be assigned to your Norvato account (Will be handled by the Norvato IT group).
Logon Account Changes
If your login account has recently changed during the transition—specifically the prefix before the @ sign—you cannot use the automated migration tool (Option 1).
Action Required: You must skip directly to Option 2: IT Support and perform a full Windows reset.
Step-by-Step Execution / Option 1
1. Environment Preparation
Close all active applications, particularly Microsoft Office and VPN clients. Ensure the device is connected to AC power.
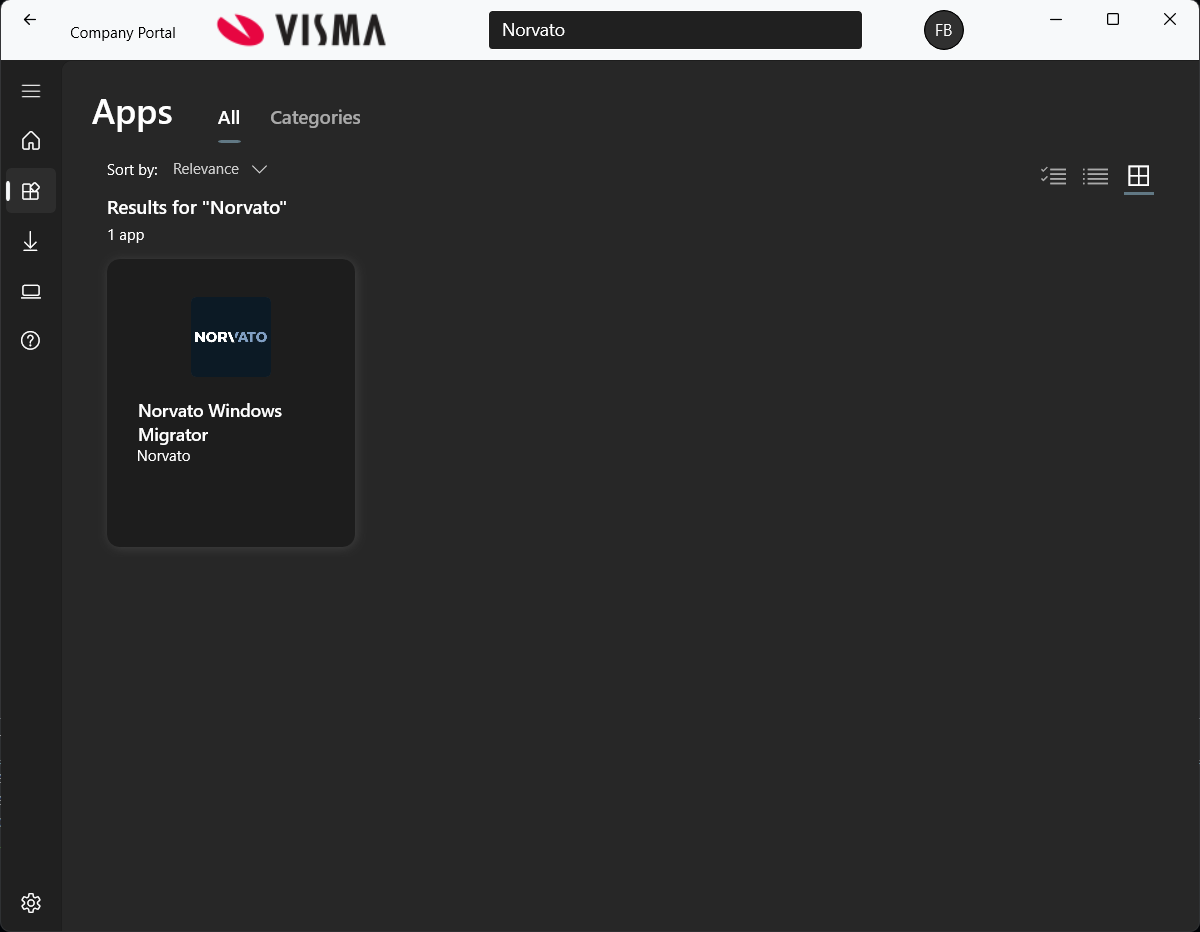
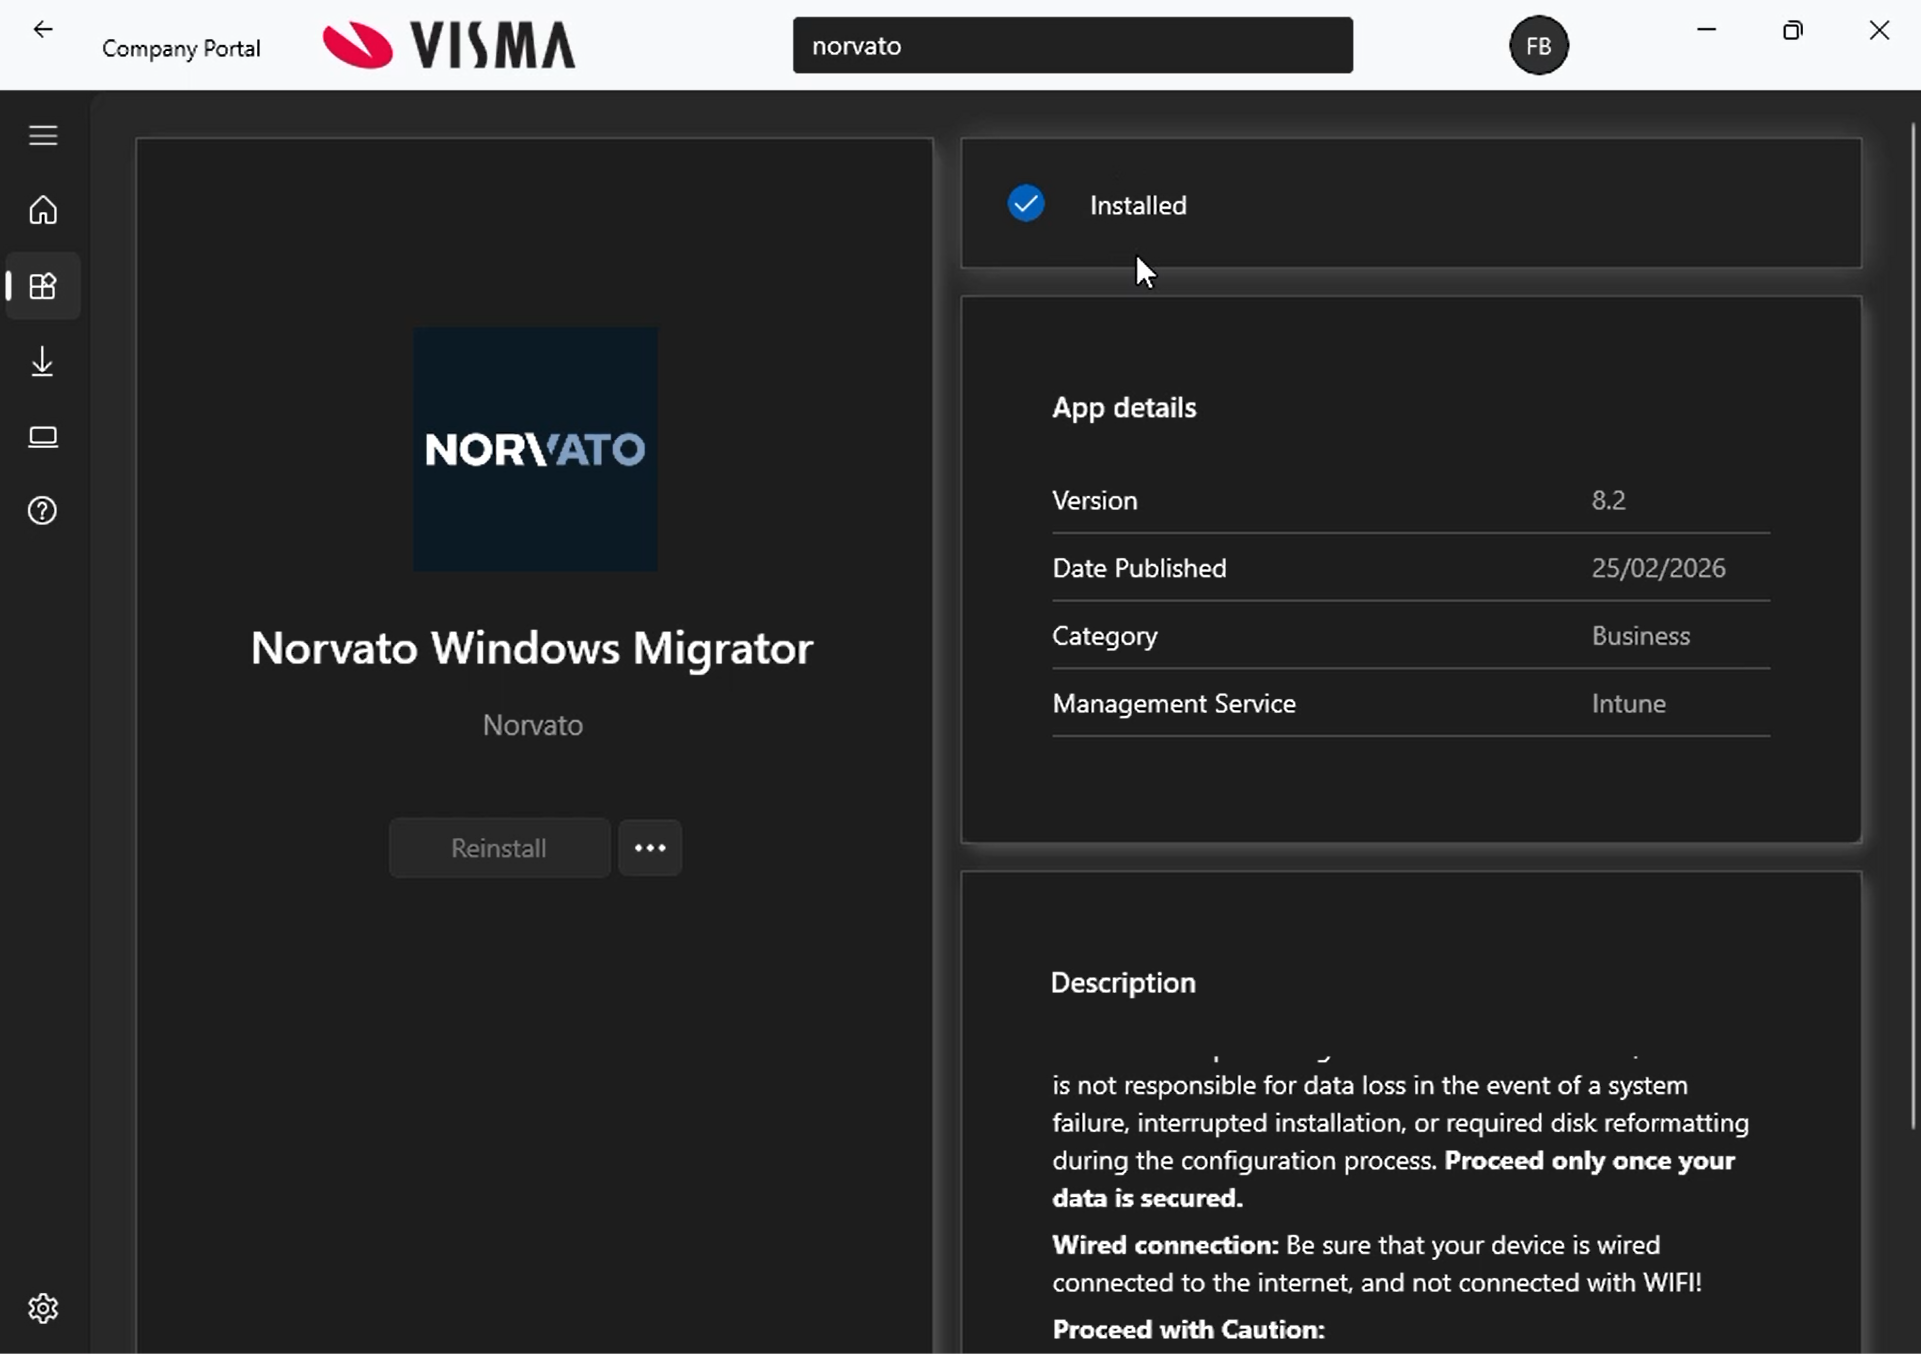
2. Initiate via Company Portal
Open the standard Company Portal app. Search for "Norvato Windows Migrator". Read the Description carefully, then click 'Install' to deploy the automated migration.
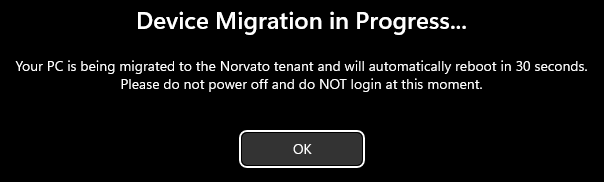
3. Installing
Once installed successfully, the device will automatically reboot in 30 seconds, starting the migration process.
sync_problem Critical: Reboot Phases
The automated process requires two specific system reboots. Failure to follow these steps may result in a broken profile.
First Reboot: Tenant Detachment
System Action: The System will lose its registration with Visma tenant.
USER ACTION: DO NOT LOG IN.
Stay at the login screen. The migrator is running as a hidden system service. A second reboot will occur automatically within 5 minutes.
Second Reboot: Norvato Join
System Action: The device registers with Norvato Intune and maps existing profile data.
Action: Log in using your Norvato email and password.

4. Authentication & Provisioning
After logging in with your Norvato credentials, you will be prompted to authenticate using Multi-Factor Authentication (MFA).
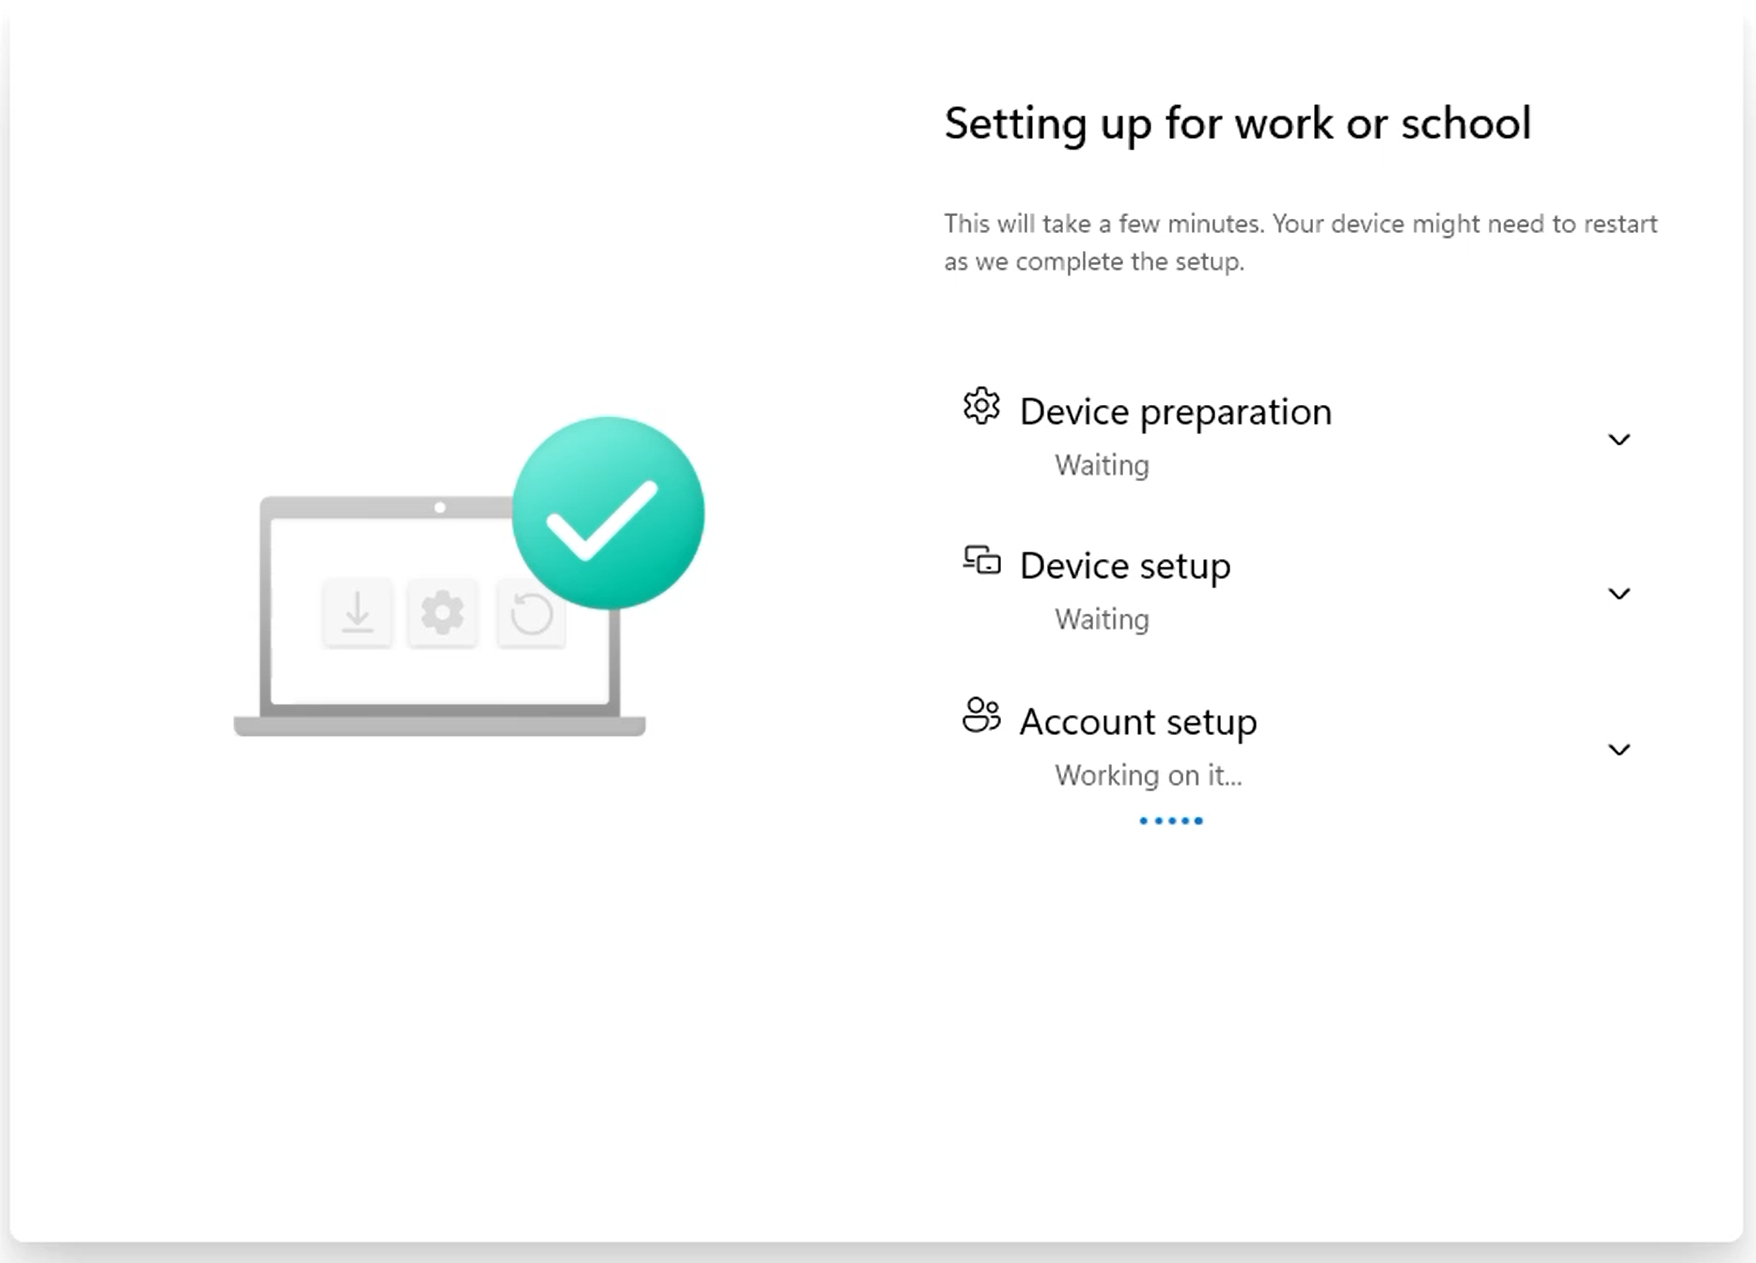
Once approved, the "Setting up for work or school" screen (Provisioning Phase) will appear. This process configures your device with Norvato's security policies and applications. Please be patient.
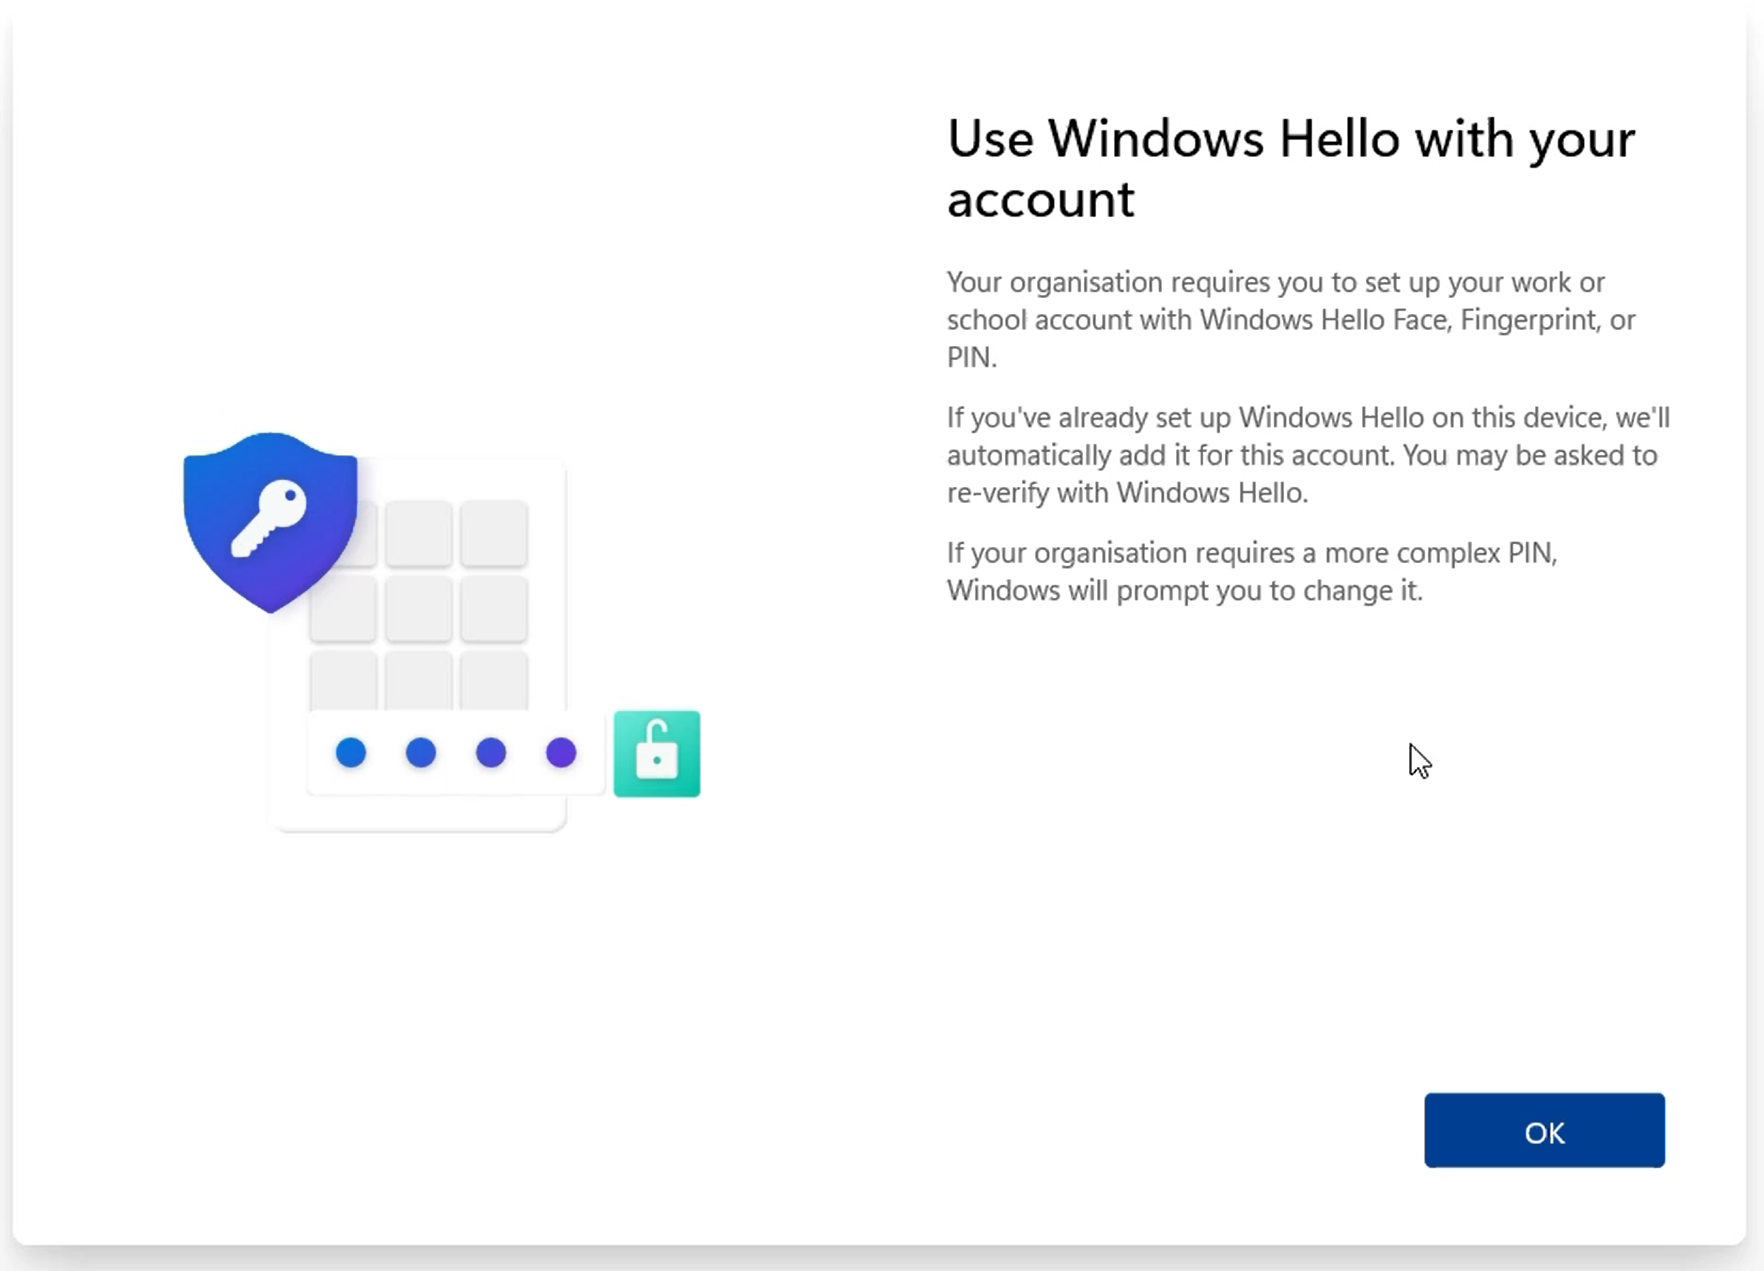
5. Windows Hello & Finalization
When provisioning is complete, you will be prompted to set up Windows Hello (PIN, Fingerprint, or Facial Recognition).
After completing the Windows Hello setup, you will be taken to your new Desktop.
info Post-Migration Tip
It is highly recommended to open the Company Portal app immediately to verify your device compliance and download any optional software you may need.
admin_panel_settings IT Support / Option 2
Admin RestrictedIf Option 1 fails or is unsupported for a specific hardware profile, local IT support must manually retrieve the hardware hash. This method requires a device wipe after hash upload. It also requires local administrator rights.
Manual Hash Retrieval (PowerShell)
# Execute line by line as Administrator
Install-Script -Name Get-WindowsAutopilotInfo
Set-ExecutionPolicy -ExecutionPolicy RemoteSigned
Get-WindowsAutopilotInfo -GroupTag "DFA" -OutputFile C:\nor-$($env:COMPUTERNAME).csv
Post-Retrieval Action
Provide the .csv file from C:\ to the Intune Portal. Once uploaded, proceed to ms-settings:recovery and select 'Remove Everything'.
Need Migration Support?
If the migrator fails or does not trigger a second reboot after 10 minutes, do not attempt to force a login. Reach out to the IT Help Desk.